Model-only
-
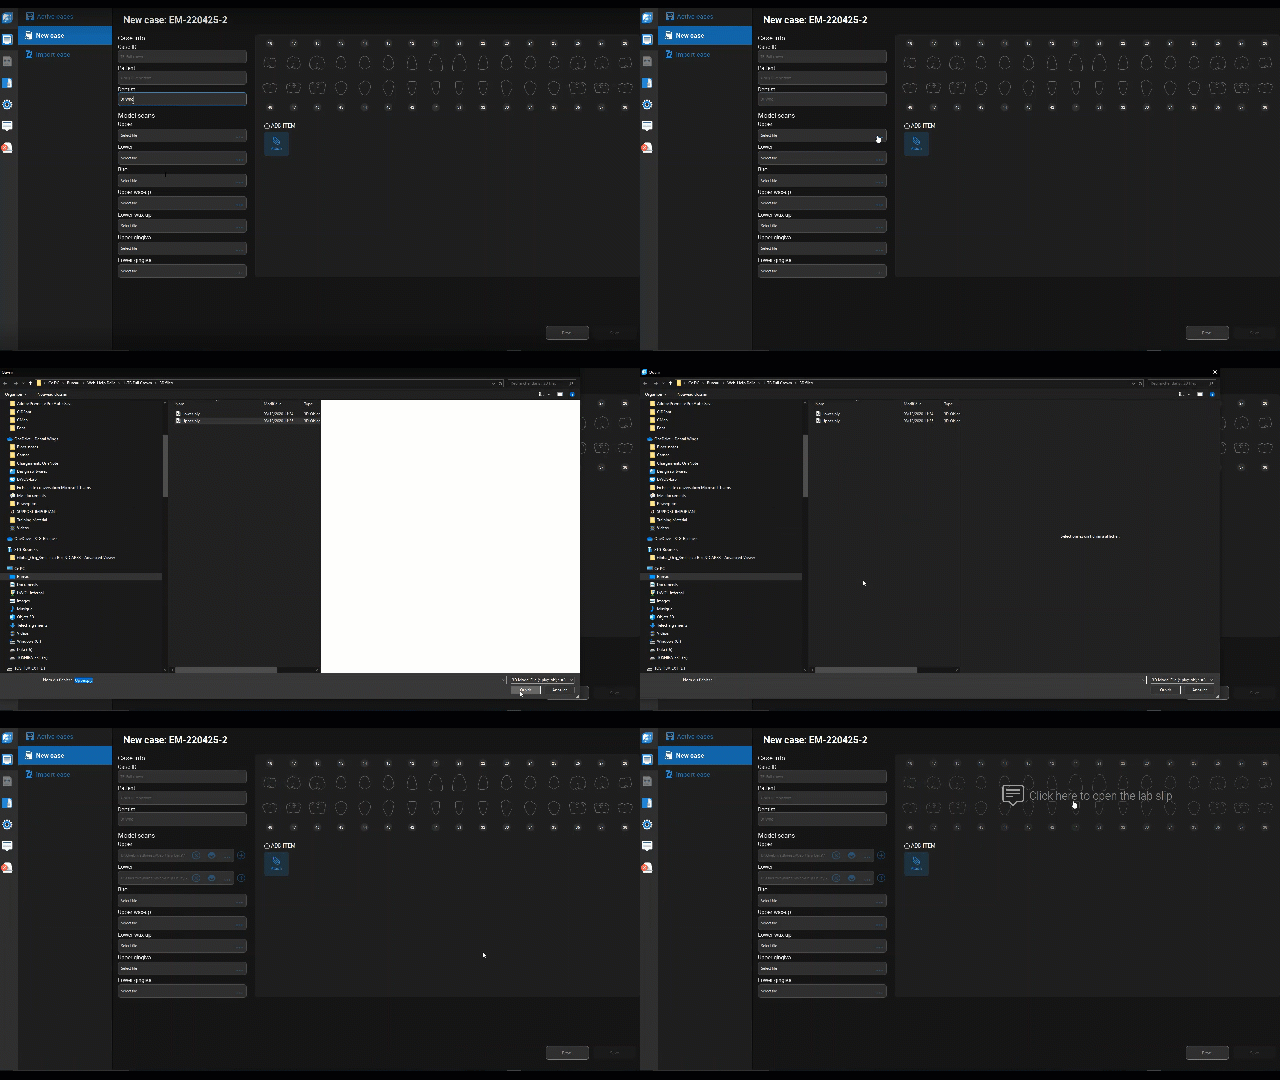
 Create new case.
-
A Case ID is generated, but you can modify it.
-
Enter Patient and Dentist names.
-
Click
 to add model scans. You can view scan files by clicking
  next to them.
 Do not click the dental chart if you print out the scan files only.
-
Click Save. The case is listed in Active cases.
-
Click Open.
-
-
In Editing, trim, erase, close holes, sculpt, and manually position scan files. You can use Display to hide/show components.
-
Go to Orientation and position the scan model on the axes.
-
 Go to Model.
-
 The lab slip opens.
-
Select the output and material and click Done to save and close the lab slip.
-
-
Go to Base. Select Basic or Ortho, and check the model height.
 If you face problems when creating the Basic base, select Ortho and try again.
 - Go to Add-ons. Select the number of hinges. You can also edit or hide the Model ID.
-
Go to Type. Select the infill for the printed model.
-
Go to Review. Inspect the model one last time before export.
Use Display to show/hide components as needed.
-
-
Go to Export. Select the output folder, and click Finish.