Diagnostic model
-
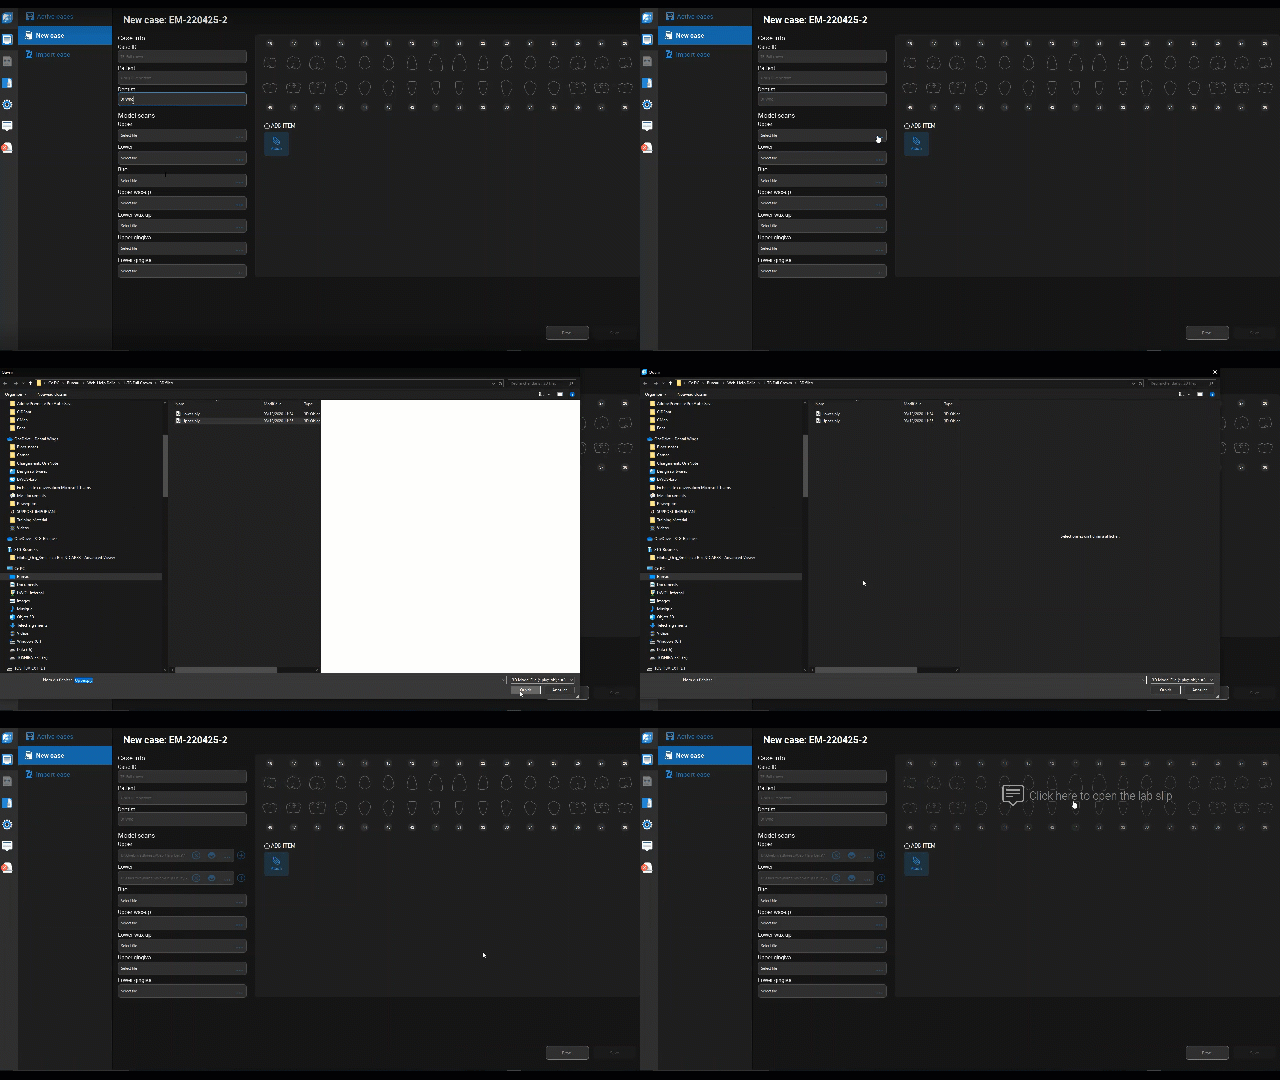
 Create new case.
-
A Case ID is generated, but you can modify it.
-
Enter Patient and Dentist names.
-
Click
 to add model scans. You can view scan files by clicking
  next to them.
 -
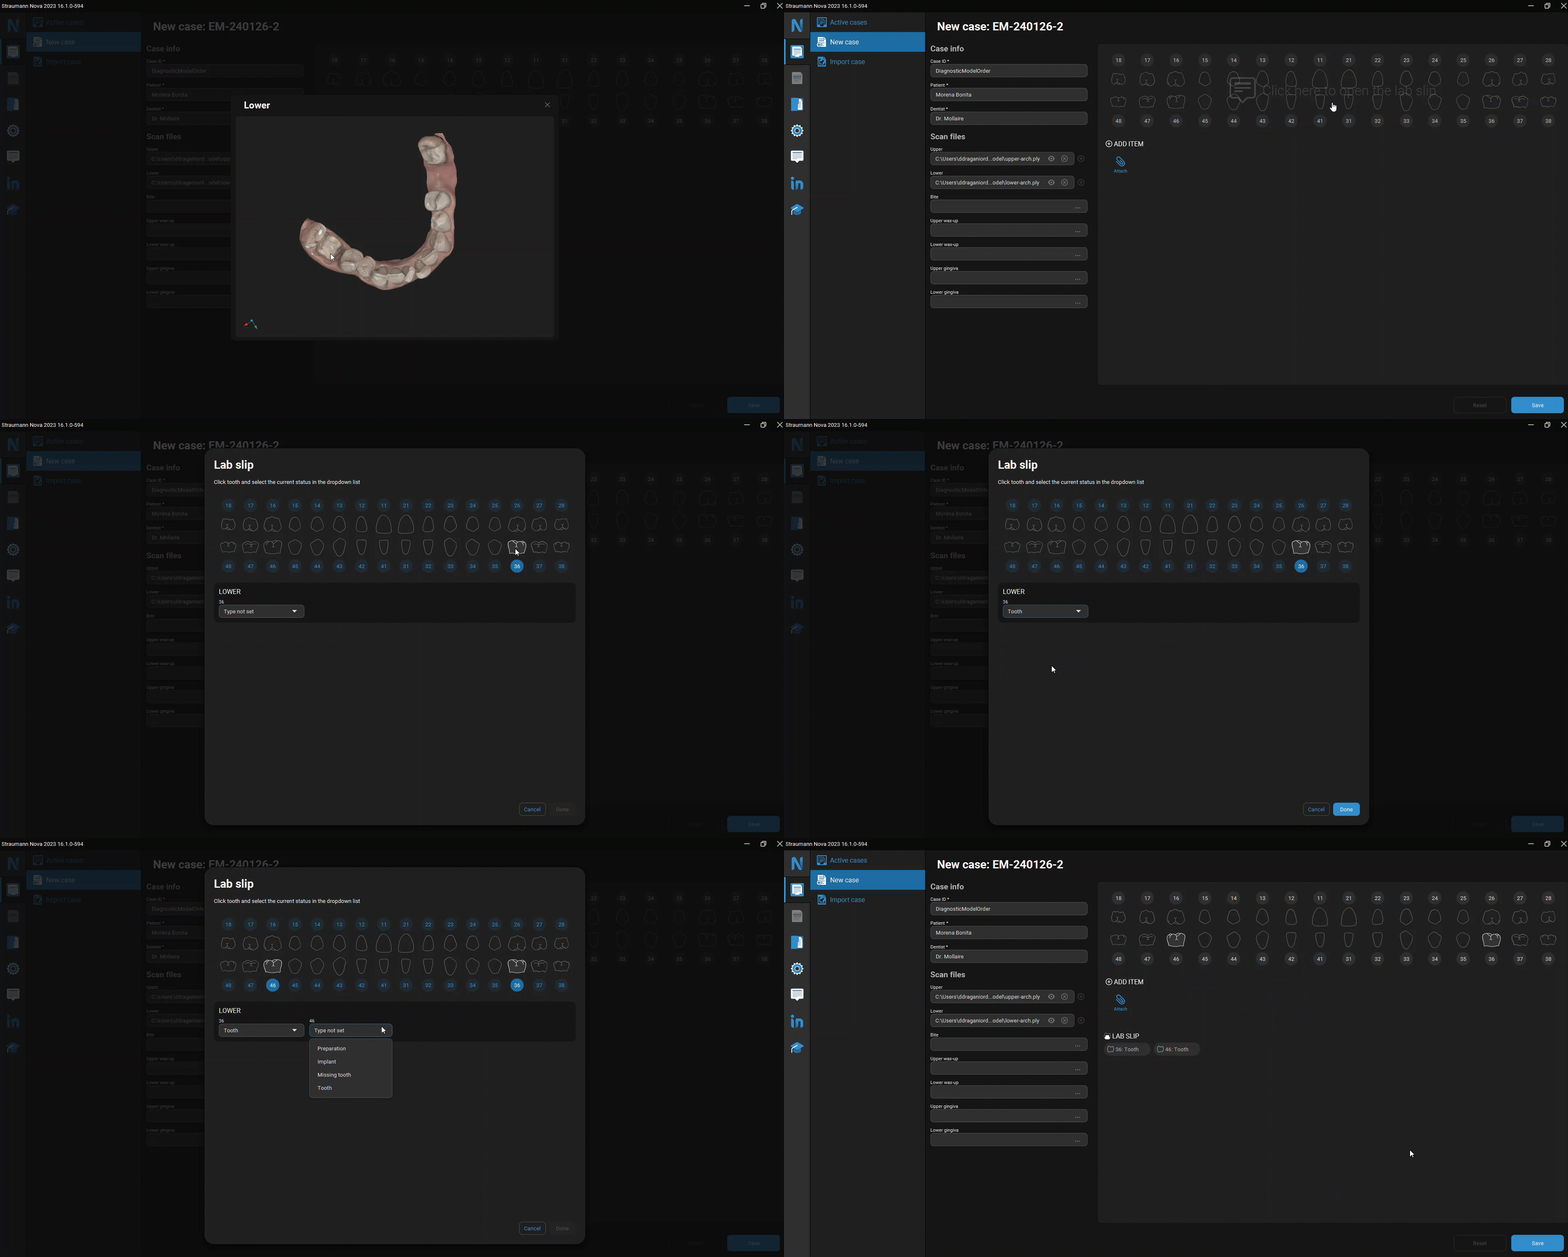
Click anywhere on the dental chart to open the Lab slip.

-
-
 Fill out lab slip.
-
Click teeth to tag them on the dental chart.
-
Always select Tooth when you design mock-up teeth, regardless of the in-mouth status quo.
-
When you identify all teeth, click Done to save and close the lab slip.

-
-
In Editing, trim, erase, close holes, sculpt, and manually position scan files. You can use Display to hide/show components.
-
Go to Orientation and position the scan model on the axes.
-
Go to Tagging. Click teeth to position tags according to the lab slip.
-
Go to Anatomy library. Select default anatomies for each tooth.
Go to Anatomy. Use available toolkits to duplicate, fit, shape, and sculpt tooth anatomies.
-
Go to Bottom.
-
Fill out lab slip details about the restoration plan, output, and material for every element.
 Select Diagnostic pontic in the restoration plan to skip the margin line design for the tooth mock-ups.
-
Click Done to close the lab slip.
-
Set up the margin line and the fitting parameters for the diagnostic crown.
-
-
Go to Shell.
 Click Contacts in Display to identify contact points at a glance.
-
Set up occlusal, proximal, and gingival contacts.
-
You can also shape or sculpt to fine-tune the design.
-
-
Go to Review. Inspect your design and bring final touches.
You can change the Restoration skin and the Arch skin in Display to get a sharper view of the result. -
 Go to Model.
-
 The lab slip opens.
-
Select what you want to print out: Model only or Diagnostic model.
-
Model only prints out the scan files you imported, with no additions.
-
Diagnostic model prints out the scan files and the mock-up teeth as designed at the Anatomy step.
-
-
Select the output and material. Click Done to save and close the lab slip.
-
-
In Editing, you can trim, erase, or close holes on the model. You can also sculpt tooth mock-ups as needed.
-
Go to Base. Select Basic or Ortho, and check the model height.
 If you face problems when creating the Basic base, select Ortho and try again.
 - Go to Add-ons. Select the number of hinges. You can also edit or hide the Model ID.
-
Go to Type. Select the infill for the printed model.
-
Go to Review. Inspect the model one last time before export.
Use Display to show/hide components as needed.
-
-
Go to Export. Select the output folder for the diagnostic items and the model, and click Finish.