Model with analogs
-
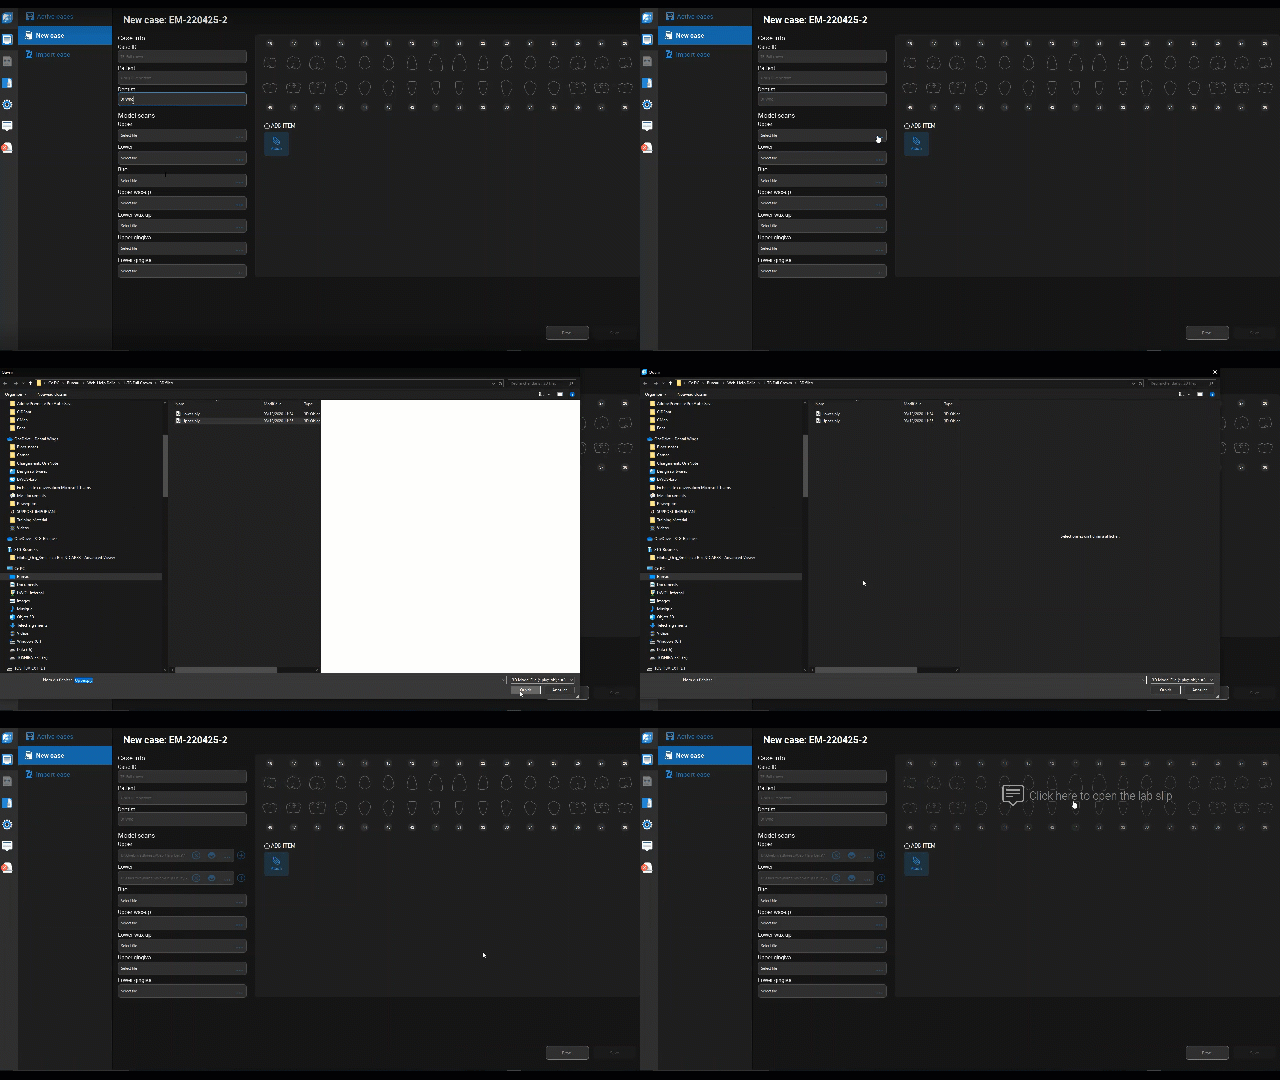
 Create new case.
-
A Case ID is generated, but you can modify it.
-
Enter Patient and Dentist names.
-
Click
 to add model scans. You can view scan files by clicking
  next to them.
 -
Click anywhere on the dental chart to open the Lab slip.

-
-
 Fill out lab slip.
-
Click teeth you have analogs/implants for.
-
Select Implant for each tooth.
-
When you identify all teeth, click Done to close the lab slip.
-
-
In Editing, trim, erase, close holes, sculpt, and manually position scan files. You can use Display to hide/show components.
-
Go to Orientation and position the scan model on the axes.
-
Go to Tagging. Click teeth to position tags according to the lab slip.
-
 Go to Scanbodies and identify all scanbodies used.
-
Specify the Implant library provider, Implant brand, Implant system, Implant connection, and Scanbody to identify the virtual scanbody that matches the one in the scan files.
-
Click Next to move to another implant.
-
Click Done to save and move forward.
 If the implant tag displays
 Fail, the scanbody matching is unsuccessful. In this case, click .
.-
Match scanbody opens.
-
Manually position the scans to overlap the scanbody library.
-
-
-
 Go to Model.
-
 The lab slip opens.
-
Select what you want to include with your 3D model: Model only, Dies and analogs, or Gingiva, dies, and analogs.
-
Select the output and material and click Done to save and close the lab slip.
-
-
In Editing, you can trim, erase, sculpt or close holes on the model.
-
Go to Dies and analogs. Adjust parameters for each die or analog by selecting them in the 3D view.
-
Go to Base. Select Basic or Ortho, and check the model height.
 If you face problems when creating the Basic base, select Ortho and try again.
 -
Go to Gingiva mask and use handles to adjust as required.
Use the square handles to resize the gingiva, and the teardrop handles to adjust its angles. When you switch your perspective, you can modify the gingiva's size, shape, and depth.
- Go to Add-ons. Select the number of hinges. You can also edit or hide the Model ID.
-
Go to Type. Select the infill for the printed model.
-
Go to Review. Inspect the model one last time before export.
Use Display to show/hide components as needed.
-
-
Go to Export. Select the output folder, and click Finish.
![]() If you need the emergence profile for the implants, click Design at the Scanbodies step.
If you need the emergence profile for the implants, click Design at the Scanbodies step.